

Learn how to install PE Foam 3D Brick Wallpaper with this easy step-by-step guide. Perfect for beginners—no tools required! Achieve a professional wall makeover in minutes.
How to Install PE Foam 3D Brick Wallpaper: A Complete Step-by-Step Guide (Beginner Friendly)
By Jig-Tik Home Styling Blog
Transforming your walls doesn’t have to be complicated. With PE Foam 3D Brick Wallpaper, you can give any room a fresh, modern look in just a few minutes—without professional help, tools or messy renovations.
This guide walks you through the complete installation process, suitable for beginners. Just follow the steps, and you’ll achieve a smooth, professional finish effortlessly.
🧰 What You Need Before You Start
The best part? You don’t require much!
Required Items:
PE Foam 3D Brick Wallpaper Sheets
A clean cloth
A cutter or scissors
A scale or ruler
Pencil for marking
Optional: smoothing tool (or your hand)
That’s all!
Let's Start to See Installation Process Step-by-Step
📌 Step 1: Prepare the Wall Surface
To ensure long-lasting adhesion:
Clean the wall with a dry cloth.
Remove dust, oil, grease, peeling paint or moisture.
Make sure the surface is completely dry and smooth.
Avoid installation on damp or rough walls.
Tip: If your wall has cracks or holes, fill them beforehand.
📌 Step 2: Measure the Area
Accurate measurements = perfect finish.
Measure the height and width of the wall.
Mark the alignment lines with a pencil.
Plan where each sheet will be placed.
This prevents crooked installation and unnecessary wastage.
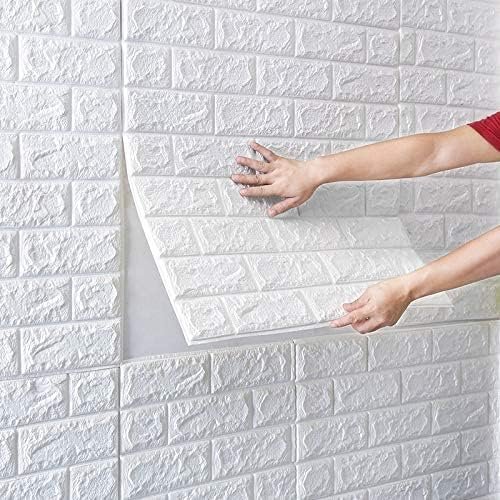
📌 Step 3: Peel the Backing Paper
Take one panel and gently peel the adhesive backing.
Peel slowly to avoid bending the wallpaper.
Keep the corners clean and dust-free.
📌 Step 4: Stick the Wallpaper Panel
Start from the top and slowly work downward.
Align the sheet with your pencil marking.
Stick the top edge first.
Gradually press downward while smoothing the surface.
Pro Tip: Use your palm or a smoother to remove air bubbles.
📌 Step 5: Match the Bricks & Continue Installing
To maintain a seamless look:
Align each next sheet with the previous one.
Match the brick pattern for a professional finish.
Press firmly at the joints so seams are invisible.
📌 Step 6: Trim Extra Edges
Once the wall is fully covered:
Use a cutter or scissors to trim the extra edges.
Cut around switches, windows, or corners neatly.
Press all edges firmly.
📌 Step 7: Final Touch & Wall Inspection
Check the whole wall:
Are all panels aligned?
Are edges sticking properly?
Any loose corners?
Smooth out bubbles (if any).
And your wall is DONE — fresh, modern and beautiful!
FINAL THOUGHTS
Installing PE Foam 3D Brick Wallpaper is one of the easiest DIY home upgrades you can do. With no tools required and a quick installation process, anyone can create a stylish accent wall in minutes. Whether you’re revamping your living room, bedroom, office, café or studio, this wallpaper gives your space a premium look at an affordable cost.
FAQ'S
No. Moisture reduces adhesion. Make sure the wall is dry.
No. Each sheet comes with strong self-adhesive backing.
Yes, as long as the surface is clean, dry, and smooth.
Yes, it can be peeled off easily, but removal may vary depending on wall condition.
Yes, it is water-resistant, but avoid direct contact with steam & heat.
📞 Contact Us
Have a question, need support, or want to know more about our products?
We’re here to help you anytime!📧 Email Support
Reach out to us for order help, product guidance, or general queries:
info@jig-tik.com📱 Phone / WhatsApp
Prefer talking directly? Call or message us at:
+91 7405511323🌐 Official Website
Explore all our product categories, offers and updates:
www.jig-tik.com🕒 Support Hours
We are available from Monday to Saturday | 10:00 AM – 7:00 PM